Not Just a Studio. A System.
SAM Studio is a premium photography and production studio in Abu Dhabi — and the foundation of SAM OS, our platform built to connect talents, creators and clients through one seamless journey: discover → book → produce → deliver.
Creative work is powerful, but in the real market it is often scattered. Clients search through random social media pages. Talents wait inside DMs. Pricing becomes unclear. Portfolios are not always professional. Bookings are not always structured. Expectations are not always documented. Delivery quality changes from one project to another.
SAM Studio was built to solve that gap. We did not want to create only a photography studio. We wanted to build a complete operating system for creative production — powered by a real studio space, real creative teams, clear standards and technology-backed workflows.
What Is SAM OS?
SAM OS is the system behind SAM Studio. It is designed to make creative work feel organized, premium and frictionless — from the moment a client discovers a talent or service until the final files are delivered.
For us, “OS” does not mean only software. It means the complete operating model of SAM Studio: the way we organize talents, manage bookings, prepare shoots, verify quality, guide clients, support creators, deliver files and scale creative services across the UAE.
One connected path from idea to final result.
The Industry Gap SAM Studio Was Built to Fix
The creative industry in the UAE is full of talented people, ambitious brands and beautiful opportunities. But the experience between idea and execution is often not smooth enough. Many projects start with excitement but lose quality because the workflow is unclear.
Common problems include:
- Talents depending only on social media profiles instead of professional portfolios.
- Clients struggling to compare models, photographers, creators and creative services.
- Unclear rates, deliverables, timelines and booking conditions.
- Creative planning happening through scattered WhatsApp messages and DMs.
- No consistent onboarding process for talents or clients.
- No unified quality standard for production, editing and delivery.
- Missed opportunities because the right talent is not visible at the right time.
SAM Studio brings these pieces into one ecosystem. The goal is simple: make creative production easier to trust, easier to book and easier to scale.
What We Do: One Brand, Multiple Engines
SAM Studio is not limited to one service category. It is designed as a full creative ecosystem where each service supports the other. A studio booking can connect to a photographer. A model portfolio can lead to a casting call. A brand campaign can include talent, styling, production, social media content and post-production.
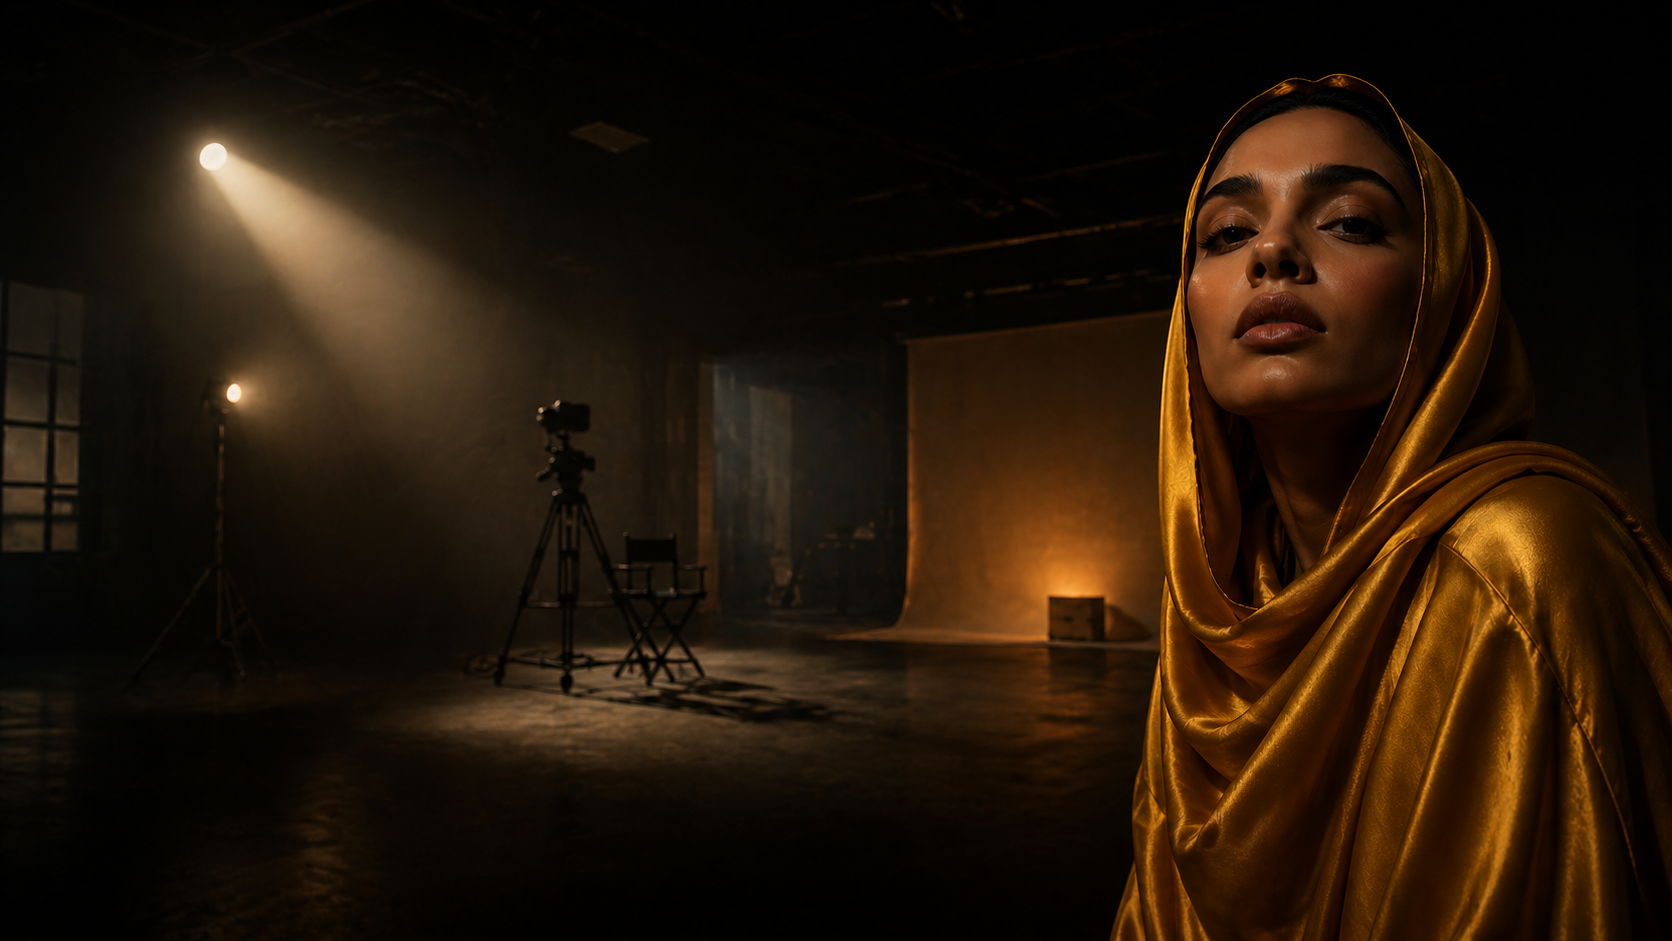
Studio Photography & Production
Fashion, portraits, editorial, commercial, product, family, beauty, corporate and campaign visuals produced with premium direction.
Studio Rental & Sets
Controlled lighting environments, cyclorama setups, props, creative backdrops and production-ready space for creators and brands.
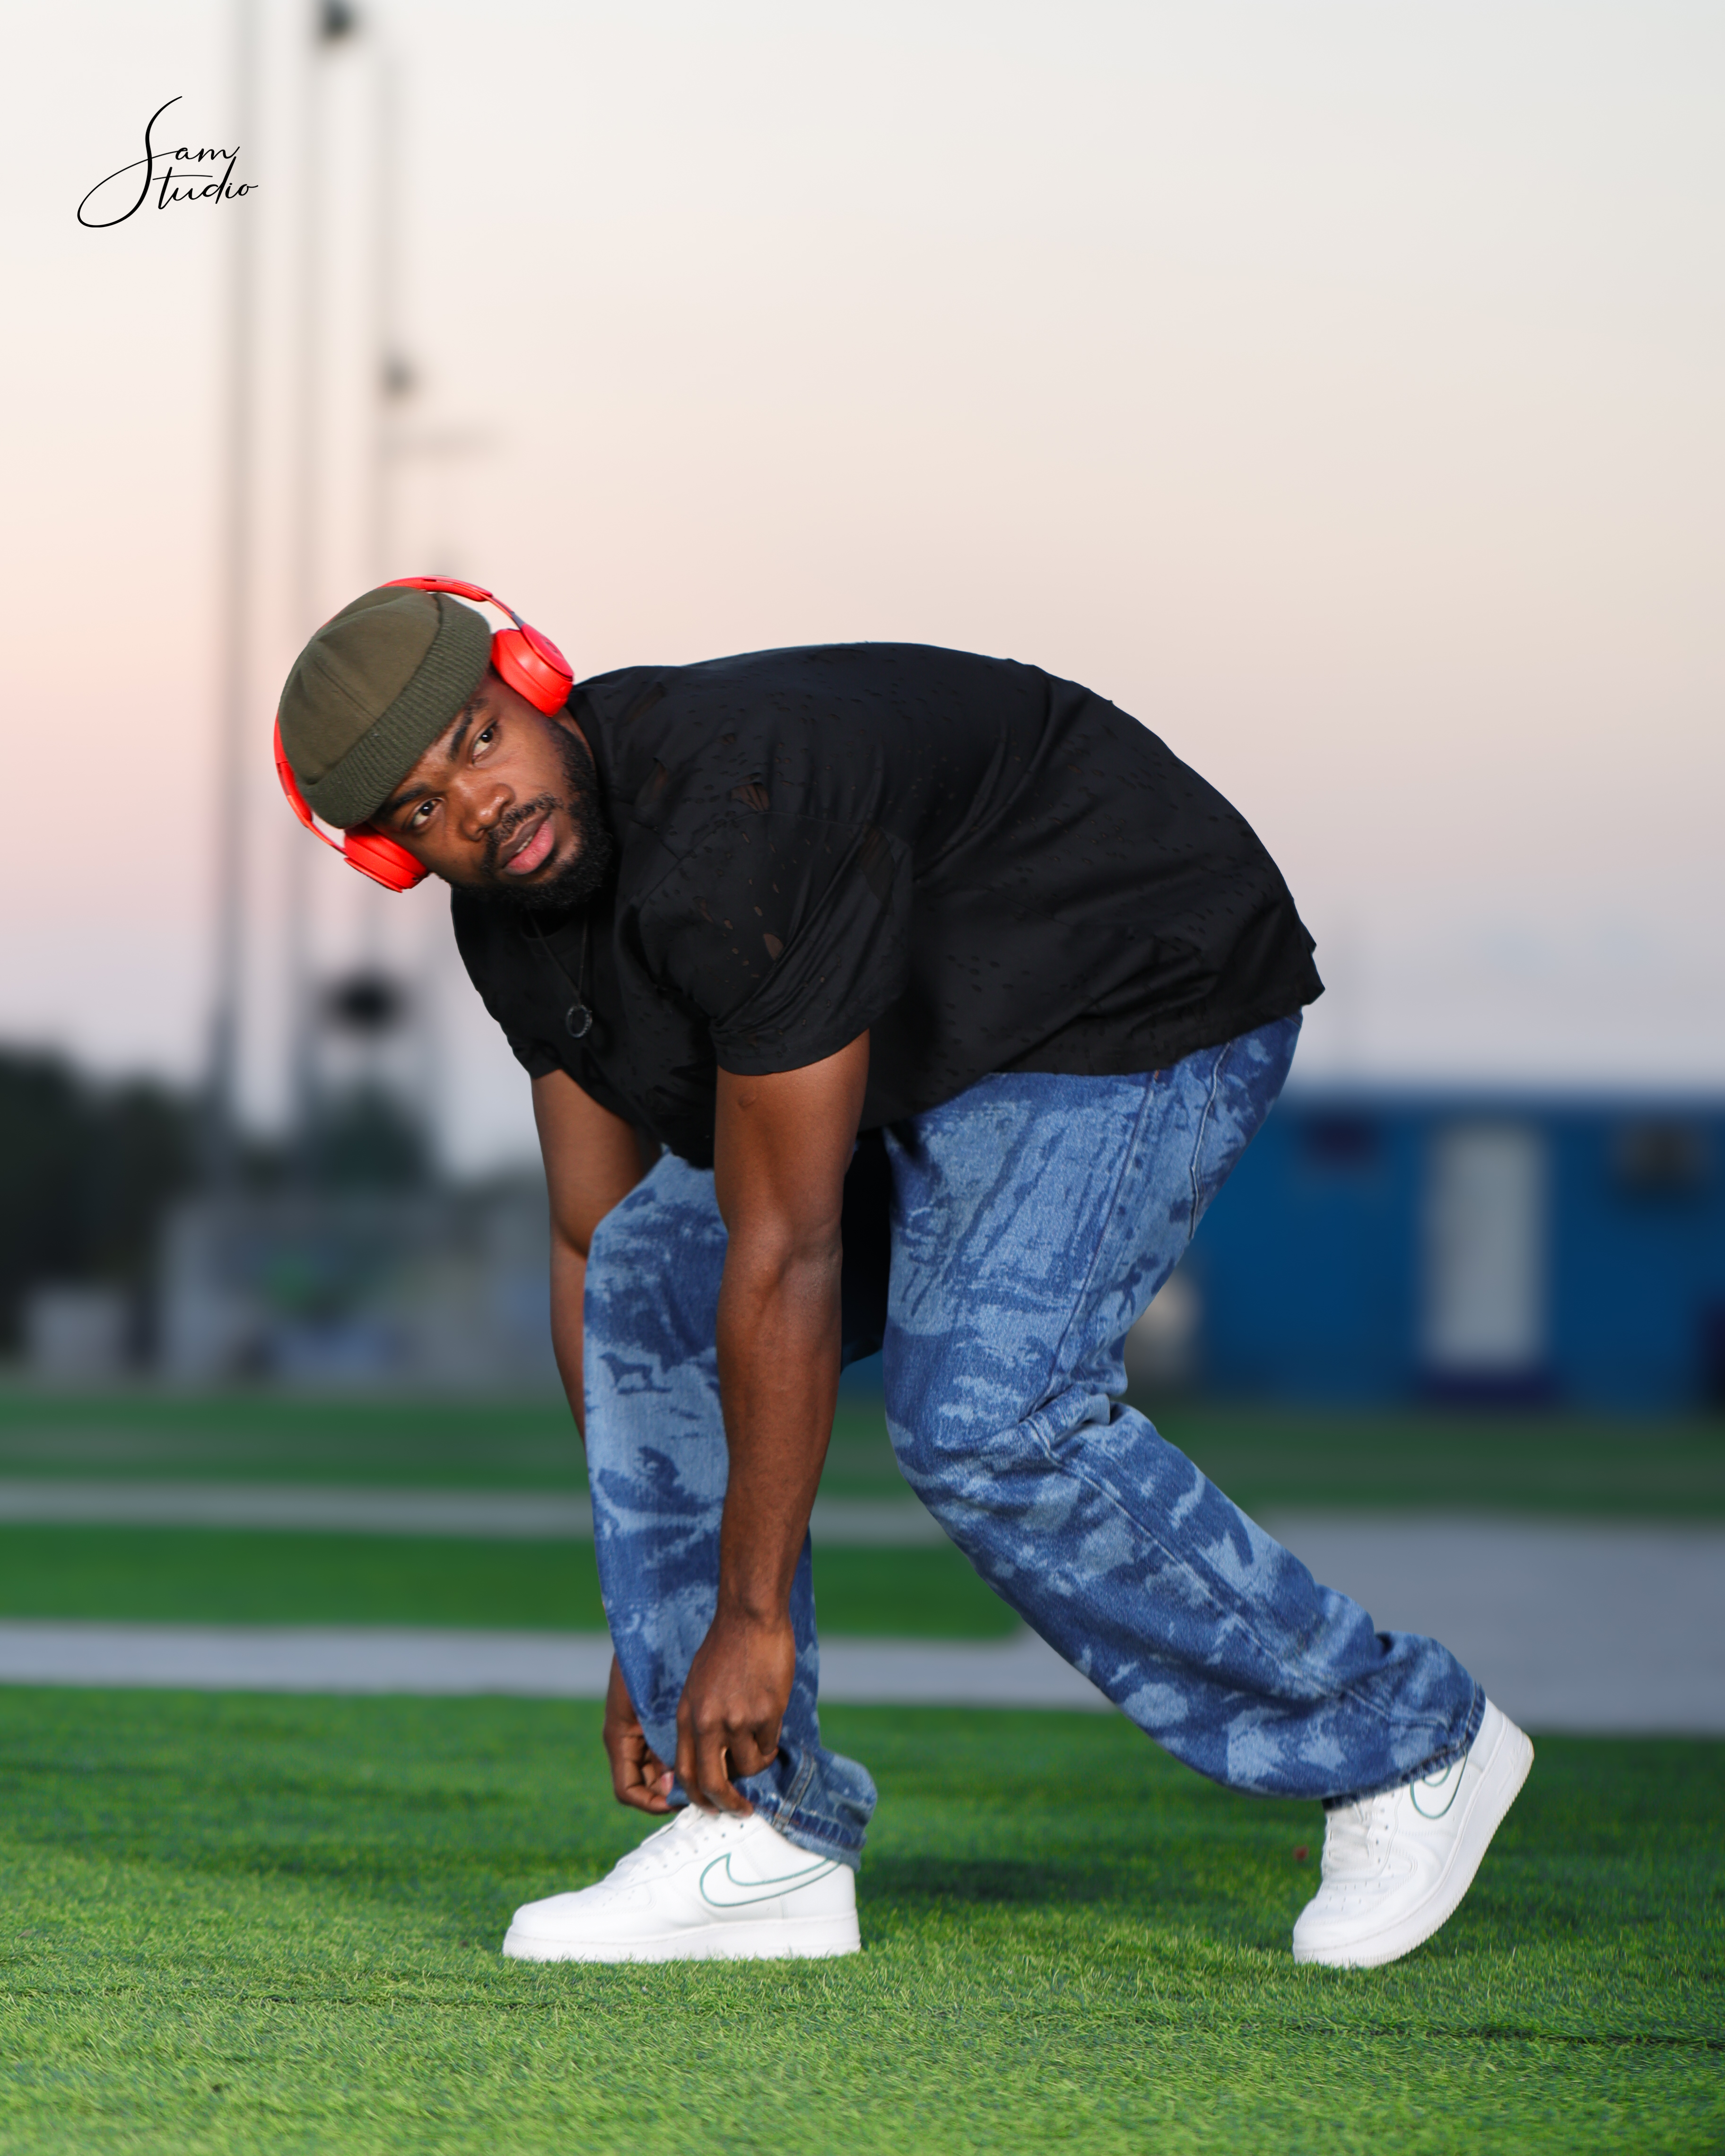
Casting, Booking & Talent Services
Models, performers, creators, freelancers, event specialists and production professionals organized through a structured talent system.
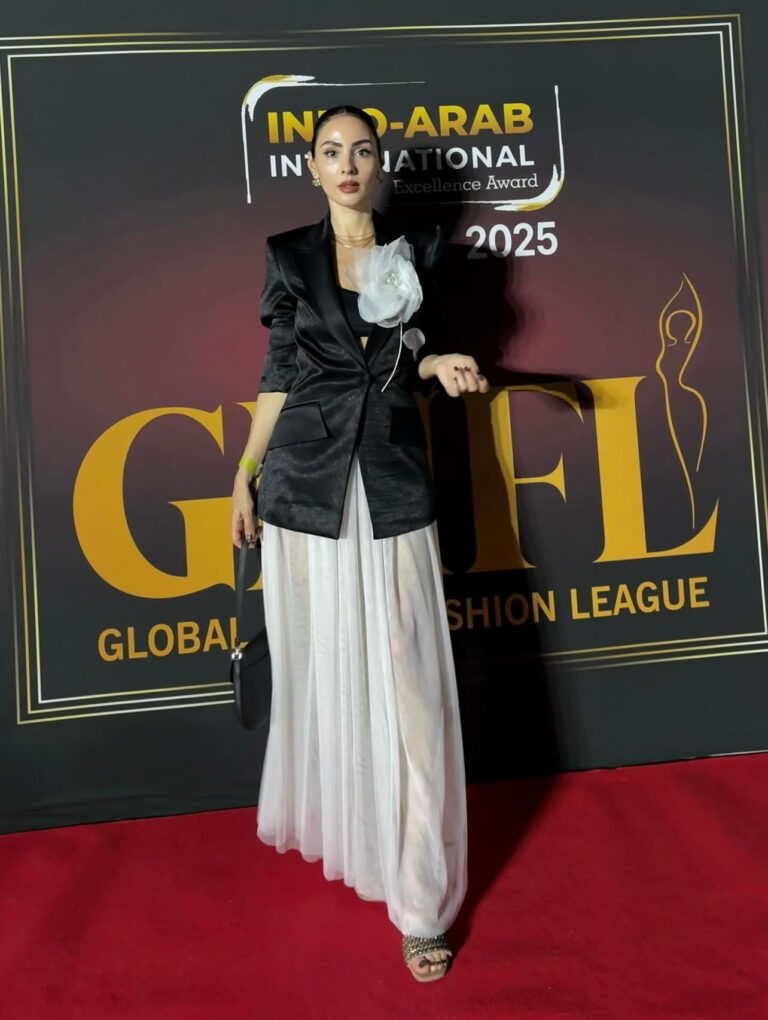
Events & Experiences
Creative event services, fashion show support, event coverage, content teams, hosts, performers and production coordination.
Based in Abu Dhabi, SAM Studio serves clients across the UAE with a premium, organized and fashion-first creative direction.
How SAM OS Works for Clients and Talents
SAM OS has two major sides: the client experience and the talent experience. Both are connected because strong creative results depend on both sides understanding the project clearly.
For Clients & Brands
- Find the right talent faster.
- Review clearer profiles and creative categories.
- Understand packages, deliverables and timelines.
- Book studio, production support or talent in one place.
- Receive more reliable execution and consistent results.
- Coordinate outcomes instead of chasing scattered conversations.
For Talents & Creators
- Build a portfolio that feels premium and trustworthy.
- Join a structured onboarding journey instead of random DMs.
- Improve visibility through better profiles and verification.
- Understand expectations, policies and client-ready presentation.
- Access better opportunities through a growing creative ecosystem.
- Grow with guidance, support and professional standards.
Our Production Standard
At SAM Studio, we treat every project like a campaign — even if it is a personal shoot. That means we care about the concept, the references, the mood, the schedule, the styling, the lighting, the direction, the editing and the final delivery.
This standard is what separates a random shoot from a professional experience. SAM OS gives structure to creativity without removing the emotion, personality and artistic energy behind it.
Why Systems Matter in Creative Work
Creative quality is not only about camera gear. It is about preparation, communication, consistency and delivery. A beautiful image can be created by talent and taste, but a professional creative business needs repeatable standards.
Where the system improves the creative journey
Why SAM Studio?
SAM Studio started as a hands-on creative journey — built with craftsmanship, obsession to detail and a clear goal: raise the standard of creative work in the region for both clients and talents.
It was built from real experience, not from theory. We understand what it means to prepare a studio, guide a model, communicate with a client, build a set, arrange a shoot, edit a gallery, handle expectations and deliver work that people are proud to share.
We combine:
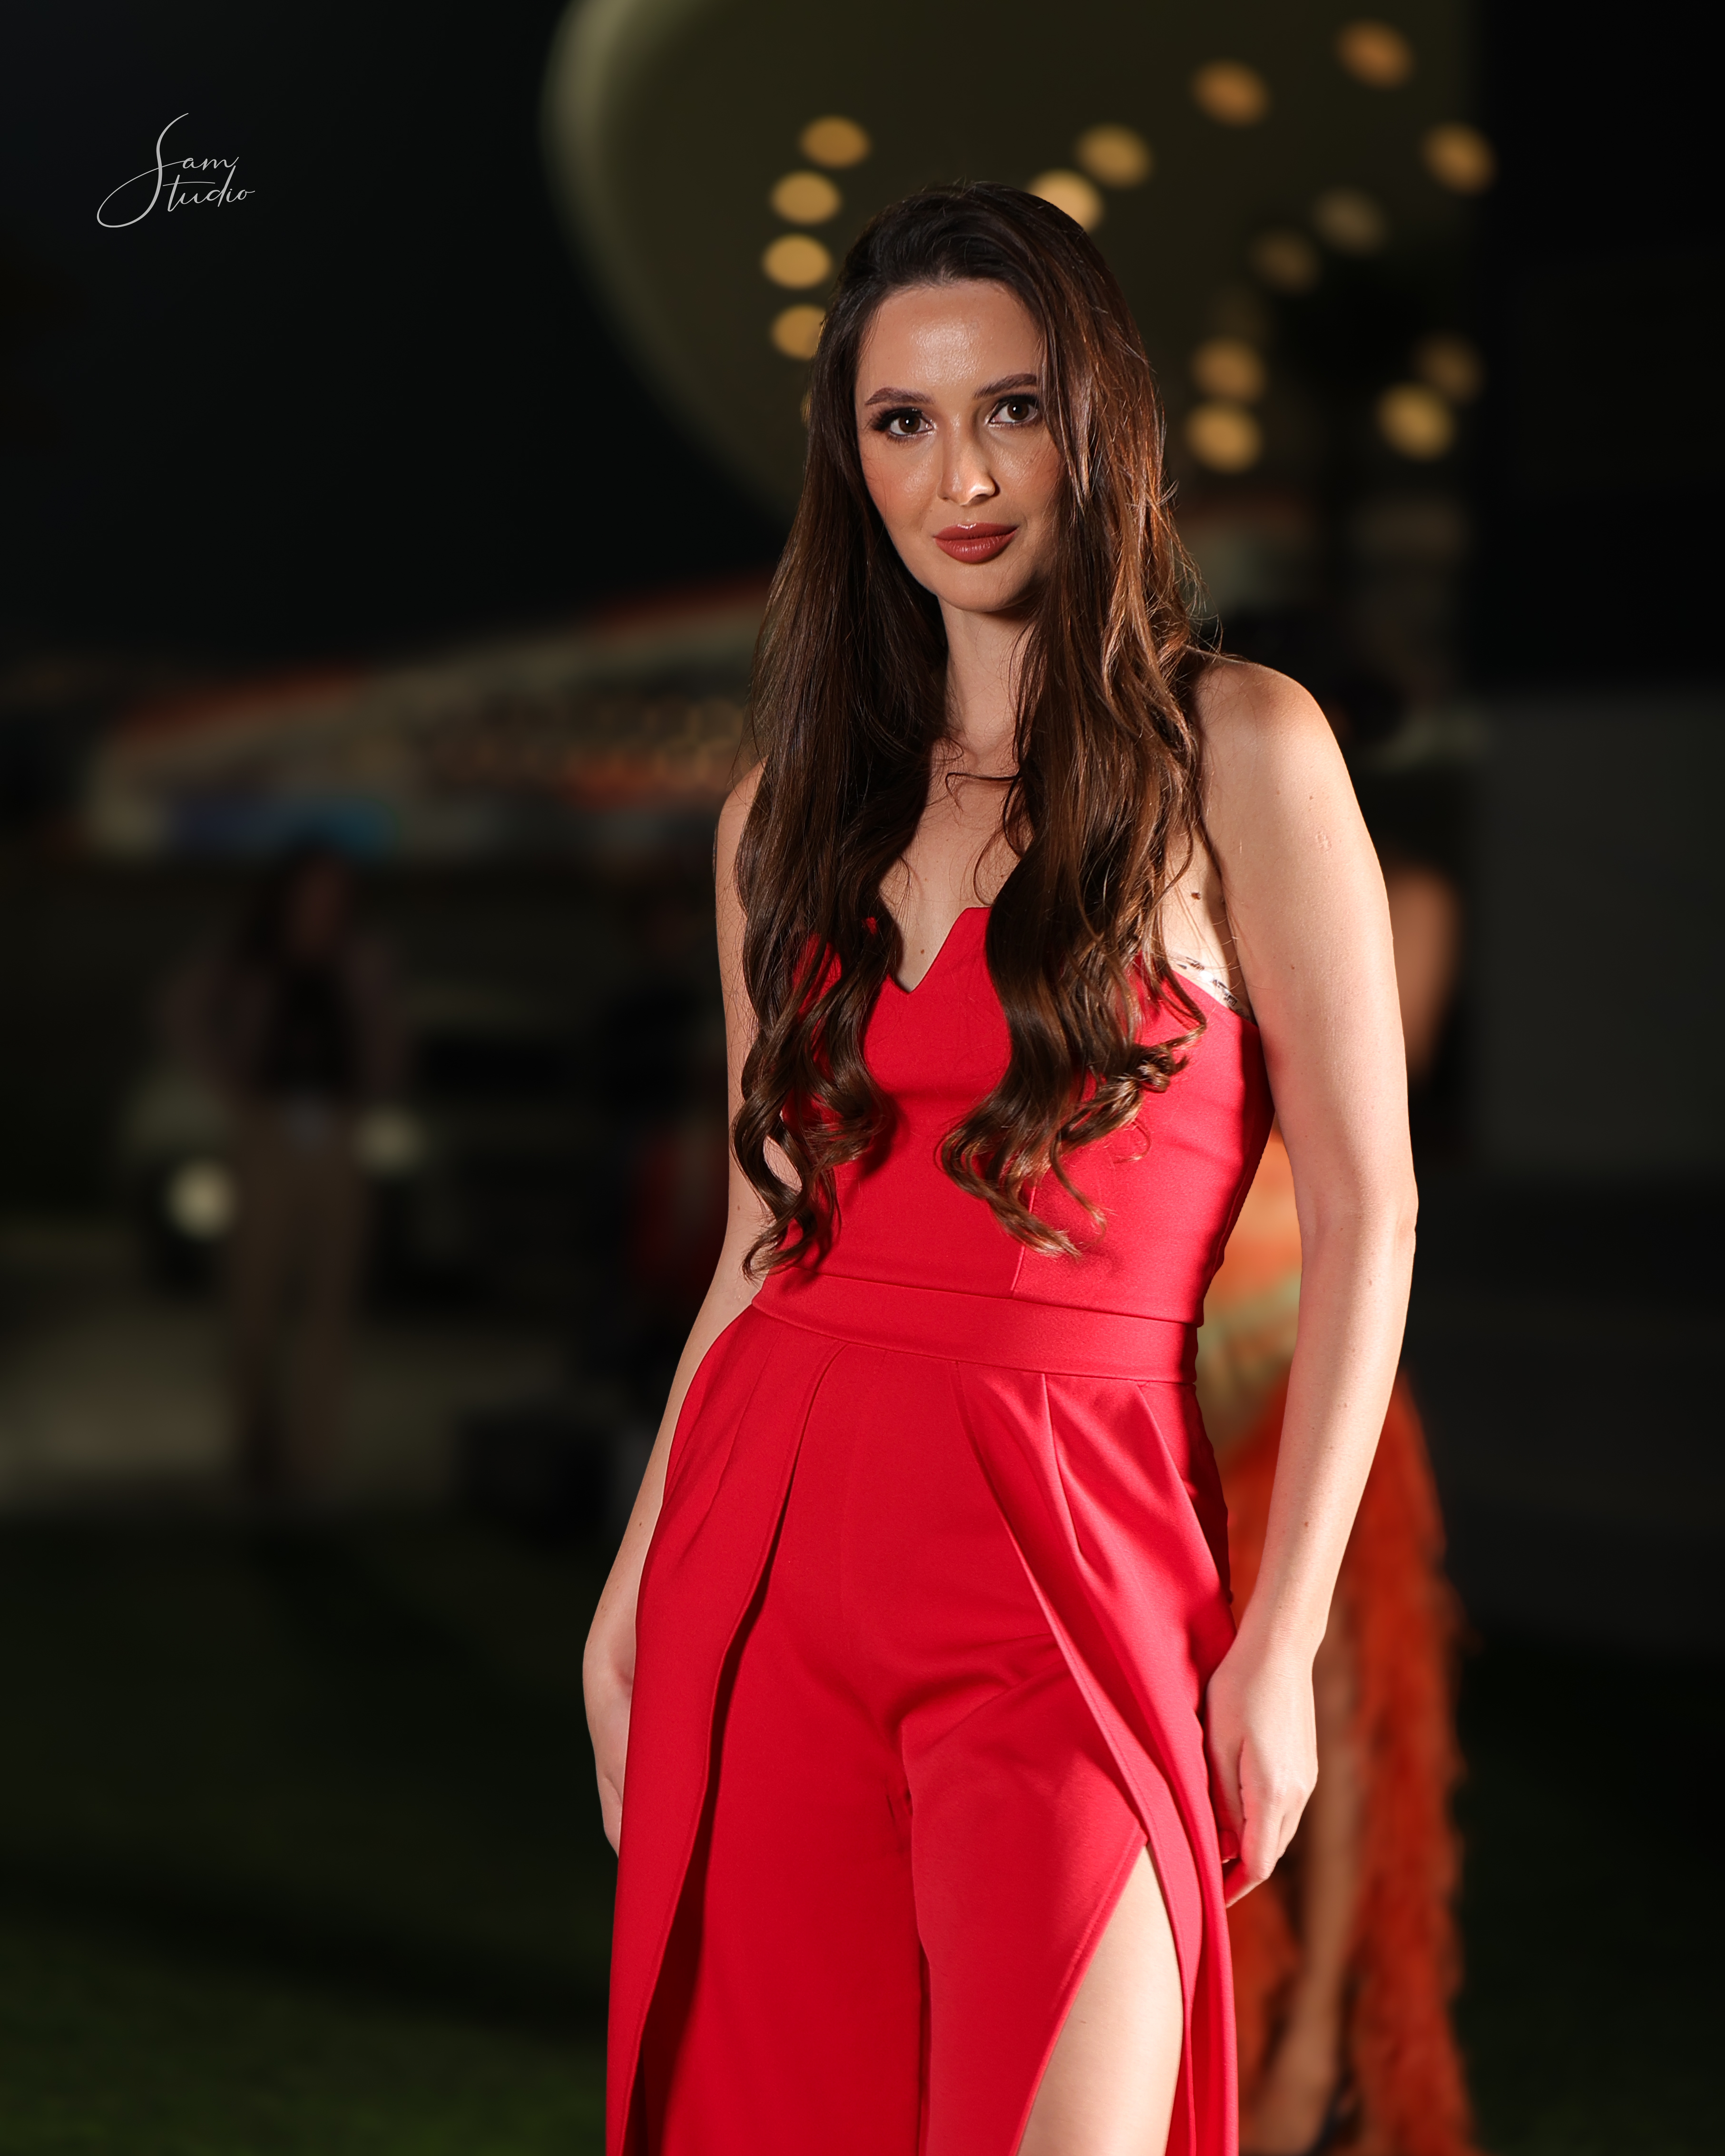
- Luxury visual taste — a premium fashion-first style that makes content feel elevated.
- Operational discipline — structured workflows, clear communication and organized delivery.
- Technology-backed workflows — systems that support booking, profiles, dashboards and content management.
- A growing talent ecosystem — models, creators, performers, freelancers and production support under one brand.
Our Values
SAM OS is not only about features. It is built around values that shape how we work with people.
What Makes SAM OS Different?
- Premium studio space in Abu Dhabi.
- Fashion-first creative direction.
- Structured booking and onboarding.
- Verified workflows and quality control.
- Multi-category talent ecosystem.
- UAE-ready business operations.
- Clear client journey from inquiry to delivery.
- Professional portfolio presentation for talents.
- Scalable foundation for future app, dashboards and automation.
The Future of SAM Studio
SAM OS is not a final destination. It is the foundation of a larger creative platform. The future vision is to make SAM Studio a place where clients can book creative services confidently and talents can grow professionally.
The platform will continue expanding with smarter talent profiles, client dashboards, booking tools, verification, casting calls, studio rental flows, production packages, creative education, talent support and performance intelligence.
The goal is not only to create content. The goal is to build a premium creative infrastructure in Abu Dhabi — one that supports brands, families, models, creators, freelancers and production teams with a higher standard of execution.
Ready to Create Something Unforgettable?
Whether you are a brand planning a campaign, a talent building your portfolio, a creator looking for a professional space, or a family capturing a milestone, SAM Studio gives you a premium experience from start to finish.
That is the purpose of SAM OS: to make creative work more organized, more beautiful, more trustworthy and more powerful.
Start your creative journey with a system built for quality.
Book a studio session, hire talent, plan a campaign, join the talent platform or speak with SAM Studio about your next creative project in Abu Dhabi.